The Workflow Nobody Talks About Honestly
Prism is a Figma plugin that acts as a central hub, connecting your Figma designs directly to After Effects, DaVinci Resolve, Photoshop, and Illustrator. It preserves layers, structure, and editability, so you skip the manual rebuild entirely. You pick only the bridges you actually need, nothing more.
Here is the part nobody puts in a tutorial: finishing a design in Figma is maybe 40% of the work. The other 60% is the painful, unglamorous process of getting that design into the tool where it actually becomes a video, an animation, or a print-ready file. I have spent entire afternoons rebuilding a Figma frame in After Effects from scratch because the export just did not translate cleanly. Layers collapsed, fonts shifted, structure disappeared. It is the kind of thing that makes you question your career choices.
If you work across multiple apps, the situation gets worse. You might need the same design in After Effects for a motion piece and in Photoshop for a client deliverable. Without a proper bridge, you are doing the same manual work twice. That is where Prism: One Hub Connecting Figma to After Effects, DaVinci Resolve, Photoshop and Illustrator changes the actual day-to-day reality of creative work.
What You Need Before You Start
Before walking through the steps, a quick checklist. You need a Figma account (free or paid), the Prism plugin installed from the Figma Community, and whichever destination apps you plan to use installed and licensed on your machine. You do not need all four destination apps. That is kind of the whole point. Prism lets you activate only the bridges relevant to your workflow.
Your Figma file should also be reasonably well organized. Named layers, grouped frames, clean structure. Prism preserves what you give it. If your Figma file is a mess of unnamed layers and overlapping elements, the bridge will carry that mess faithfully into your next app. Garbage in, garbage out.
Step 1: Set Up Your Figma File the Right Way
Start by treating your Figma frame as a production document, not just a mockup. Name every layer. Group related elements. If you are building animation frames for After Effects, put each frame in its own labeled group. If you are preparing assets for Illustrator, keep vector shapes clean and avoid rasterized fills where possible.
This step takes maybe 20 extra minutes on a typical project. It saves hours on the other side. Every unnamed layer becomes a headache when you are trying to find it in a 50-layer After Effects composition at 11pm before a client deadline.
Step 2: Open Prism and Choose Your Bridge
Once your Figma file is ready, open the Prism plugin from your Figma plugin menu. You will see your available bridges, each one representing a direct connection to a destination app: After Effects, DaVinci Resolve, Photoshop, or Illustrator.
Pick the one you need for this project. If you need the same design in two apps, you can run the bridge twice to different destinations. The process is not complicated. Select your destination, confirm your settings, and let Prism do the transfer.
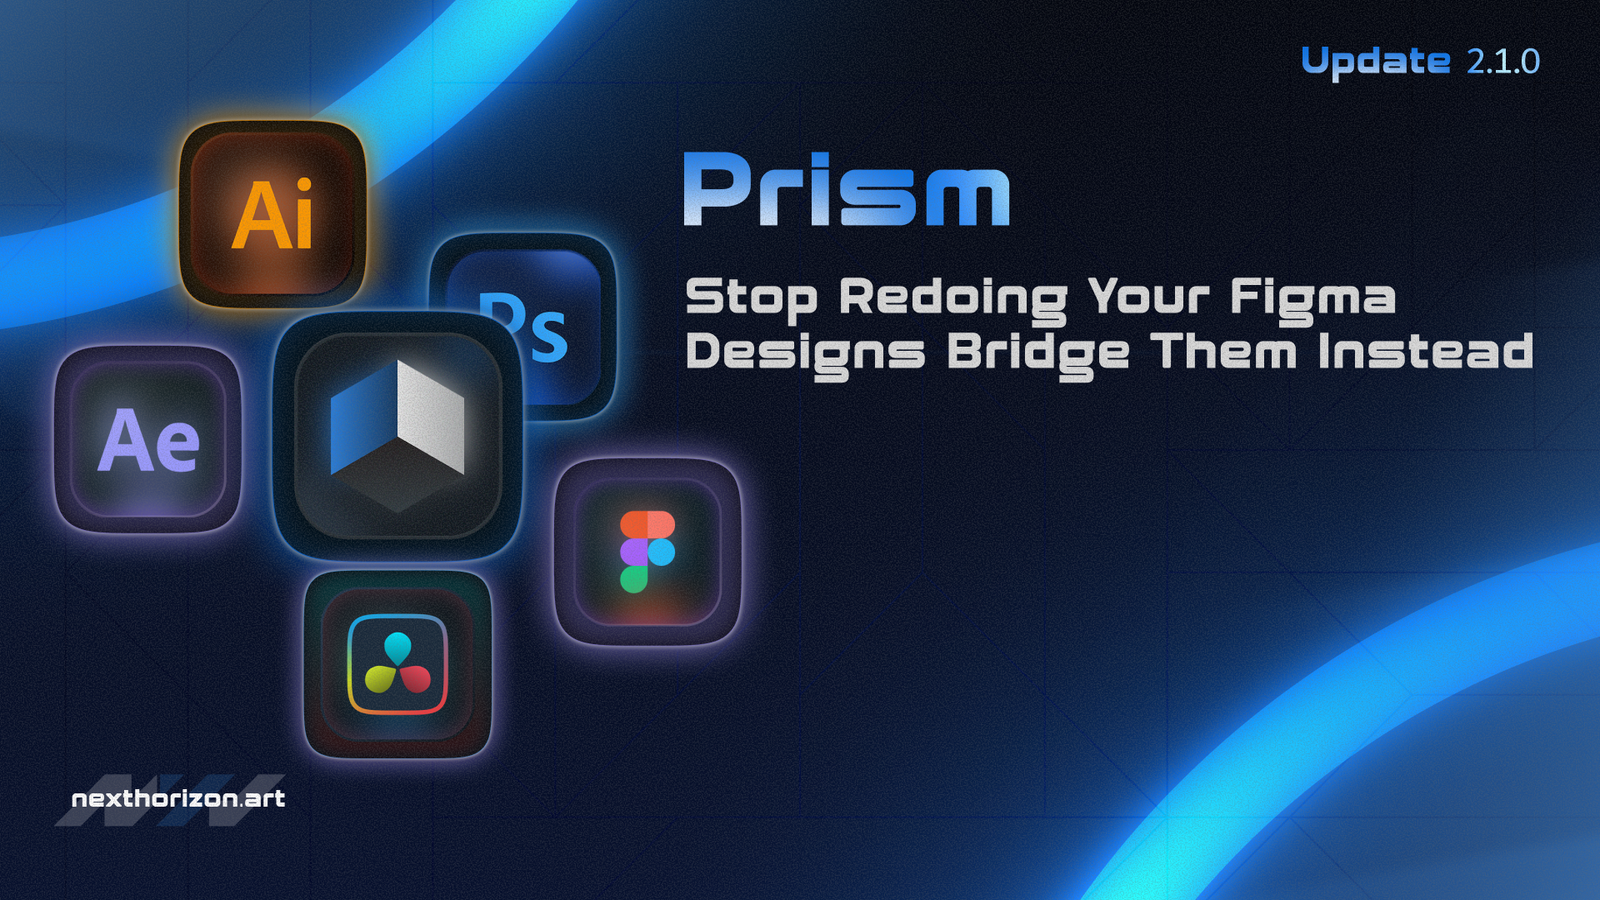
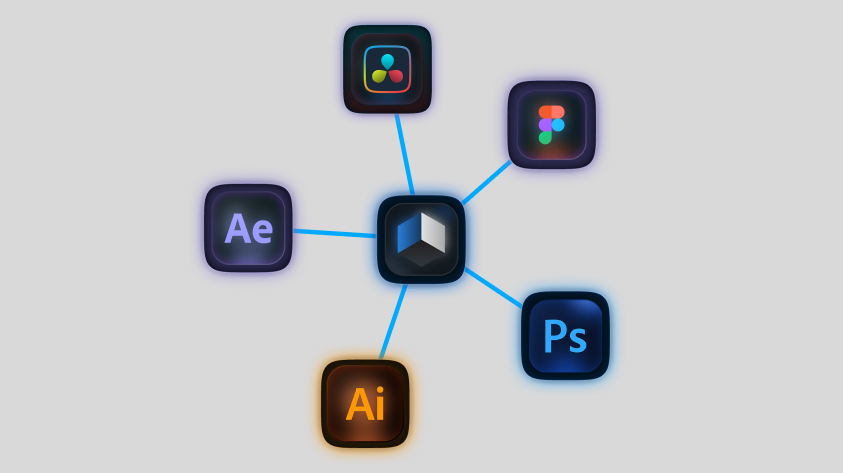 Prism sits at the center, with dedicated bridges to each app. You activate only the connections you actually use.
Each connection in the diagram above represents a separate, activatable bridge. You are not buying a monolithic tool. You are picking the specific paths that match how you actually work.
Step 3: Bridge the File Into Your Destination App
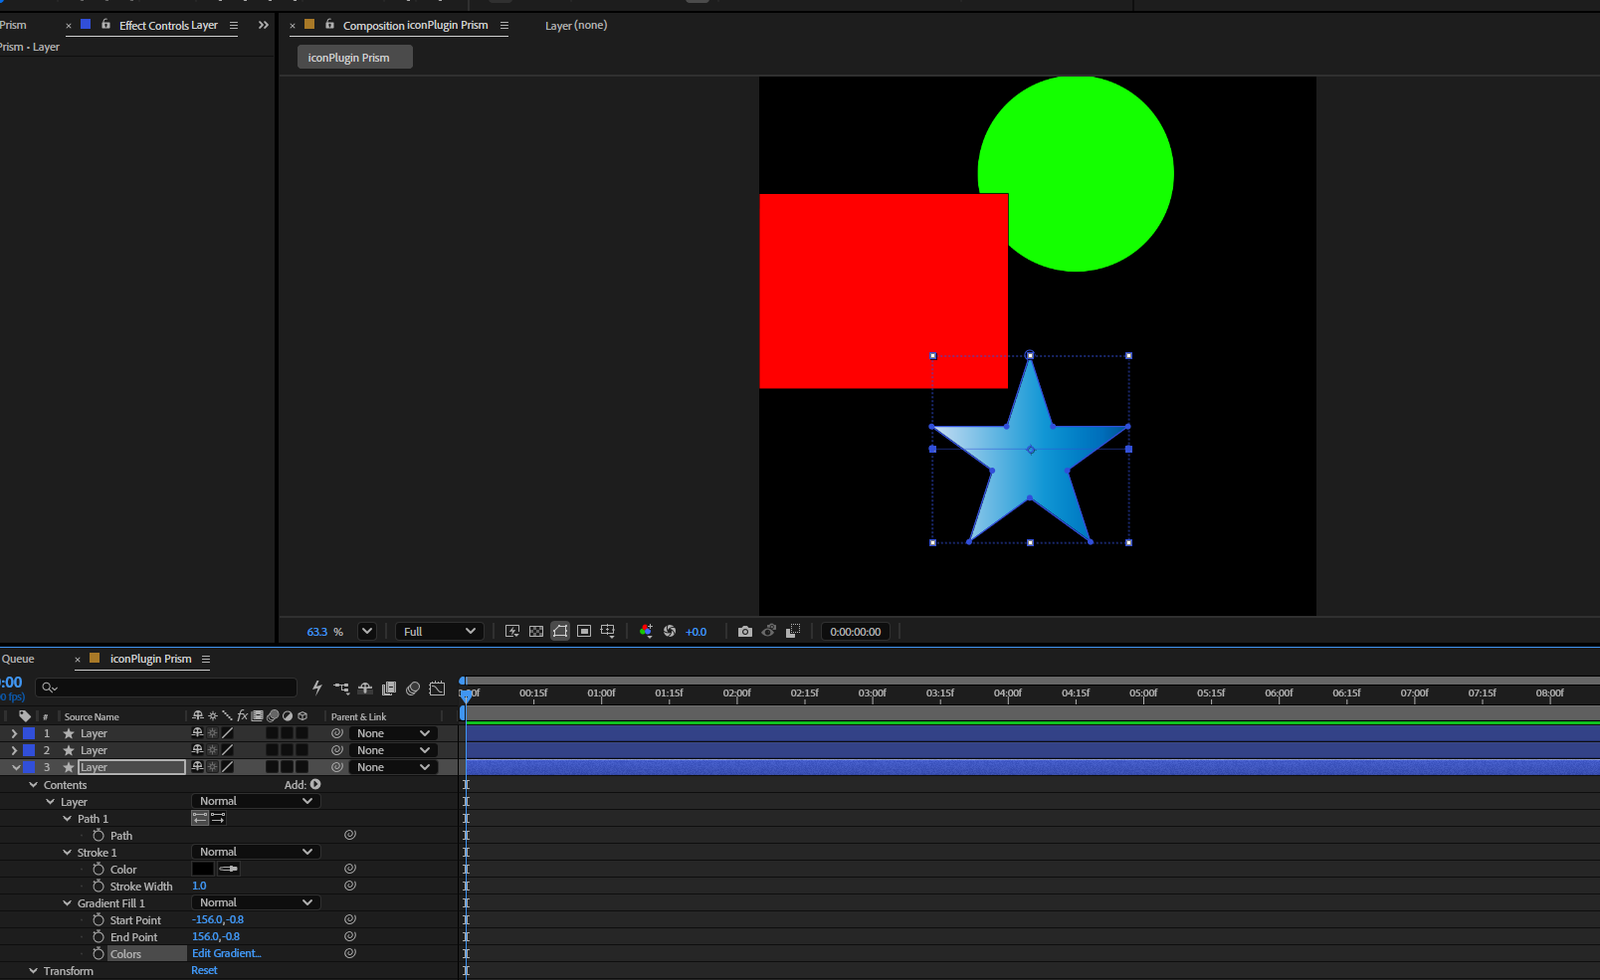
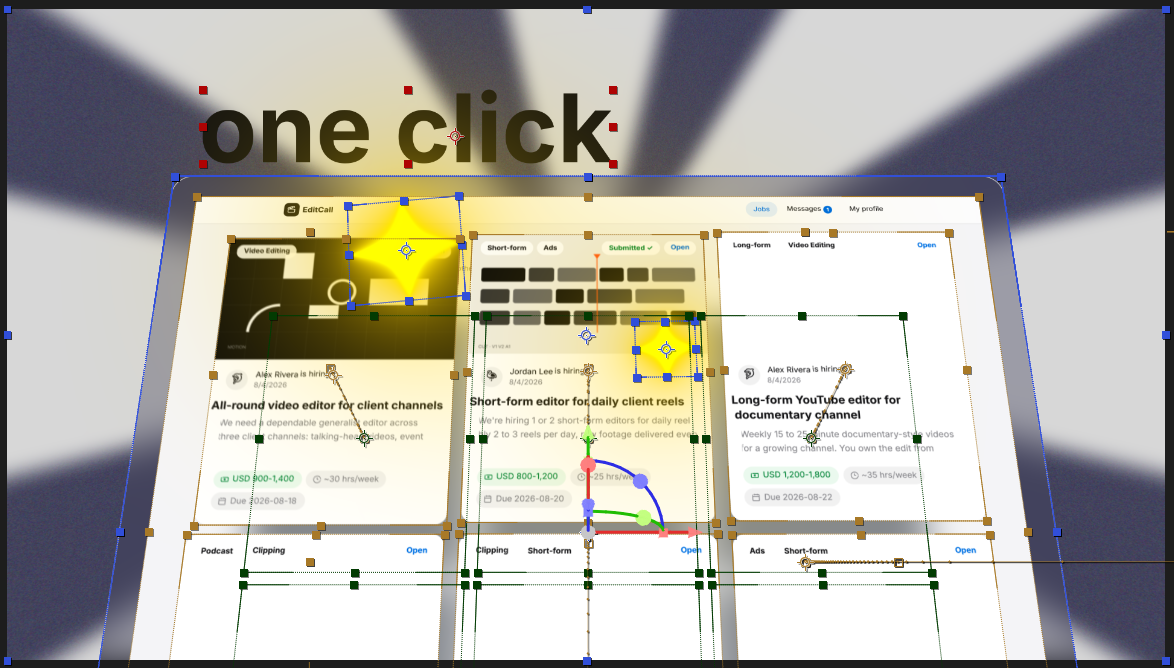
This is where the actual time-saving happens. Prism transfers your design directly into the chosen app, with layers intact, structure preserved, and everything still editable. You are not importing a flattened PNG. You are getting a working file you can immediately start animating, editing, or compositing.
The difference between a flattened export and a properly bridged file is the difference between tracing a photo and painting from scratch. One gives you a starting point. The other gives you a finished structure.
In After Effects, your Figma layers arrive as individual AE layers you can keyframe immediately. In Photoshop, your groups come through as editable layer groups. In Illustrator, your vectors stay as vectors. This is not magic, it is just what a proper bridge should do. The frustrating part is that most tools in this space do not actually deliver on this promise.
Step 4: Animate, Edit, or Composite From the Bridged File
Now you work. With a properly bridged file, you skip straight to the creative part. No rebuilding, no re-importing assets, no guessing which element was supposed to be which layer.
For motion work in After Effects or DaVinci Resolve, this means your animation starts from a real structure, not a reconstruction. For static deliverables in Photoshop or Illustrator, you have the actual editable file ready for final adjustments. If you want to see what that kind of output looks like in real production, check out our portfolio for examples of projects where the Figma-to-motion workflow actually worked the way it should.
- After Effects: start keyframing immediately from real layer structure
- DaVinci Resolve: bring Figma layouts into your edit timeline without rebuilding
- Photoshop: receive grouped, editable layers ready for retouching or print prep
- Illustrator: keep vectors as vectors, scalable and editable
Step 5: Iterate Without Starting Over
Client wants to change the headline. Designer updated the brand color. You have a new frame to add. In a normal workflow, any of those changes means going back to Figma, making the edit, re-exporting, and manually updating whatever you rebuilt in your destination app. With Prism, you go back to Figma, make the edit, and bridge again. The structure is already set up on the other side.
This is where Prism: One Hub Connecting Figma to After Effects, DaVinci Resolve, Photoshop and Illustrator actually compounds in value over a full project lifecycle. The first bridge saves you an afternoon. Every subsequent iteration saves you another hour or two. On a project with five rounds of client revisions (and yes, that is a very normal number), that is real time back in your week.
If your studio regularly produces motion content for SaaS or B2B clients, the kind of iterative, fast-turnaround work we handle at Next Horizon, this kind of workflow efficiency is not optional. It is how you stay profitable on tight timelines.
The Most Common Way People Mess This Up
Skipping Step 1. Every time.
People install Prism, get excited, grab their messy Figma file from last week, bridge it into After Effects, and then wonder why everything looks chaotic on the other side. Prism bridges what exists. It does not reorganize your layers, rename your elements, or figure out your intentions. A disorganized Figma file becomes a disorganized AE composition.
The fix is boring but real: build the habit of keeping Figma files clean before you ever think about exporting or bridging. Name your layers. Group your frames. It takes discipline, but it is the difference between a bridge that saves you hours and a bridge that just moves your chaos somewhere new.
Prism starts at $69, and there is a free tier available so you can test the bridges before committing. Honestly, test it on a real project file, not a dummy file. That is where you will actually feel the difference.
If you want to see how we use tools like Prism in production motion work, the Next Horizon portfolio has plenty of examples from real client projects.
Try it on your next project and see how much of your day was actually being eaten by manual re-exports.
Frequently Asked Questions
What is Prism and what does it do?
Prism is a Figma plugin developed by Next Horizon Studio that bridges your Figma designs directly into After Effects, DaVinci Resolve, Photoshop, or Illustrator. It transfers layers, structure, and editability without manual re-export, so you skip rebuilding your design from scratch in each destination app.
How much does Prism cost?
Prism starts at $69 and is available at nexthorizon.art/store/figma-to-ae. There is also a free tier available through the Figma Community so you can test the bridges before committing to a purchase.
What apps does Prism connect to from Figma?
Prism connects Figma to four destination apps: Adobe After Effects, DaVinci Resolve, Adobe Photoshop, and Adobe Illustrator. You can activate each bridge individually, so you only pay for the connections that match your actual workflow rather than buying a full suite you may not need.
How is Prism different from tools like Overlord or DEmotion?
Most single-bridge plugins only connect Figma to one app. Prism offers up to four separate bridges from a single plugin, and you choose only what you need. It is a more flexible, pay-for-what-you-use alternative rather than a tool locked to one destination or sold as an expensive all-in-one bundle.
Does Prism preserve layers when transferring from Figma?
Yes. Prism bridges your file with layers, structure, and editability intact. In After Effects your Figma layers arrive as individual keyframeable layers. In Photoshop they come through as editable layer groups. In Illustrator, vector shapes stay as vectors. The quality of what transfers depends on how cleanly your Figma file is organized.